In the ever-evolving world of hairstyling, extensions have become a game-changer, offering endless possibilities to transform your look. Whether you're aiming for added length, volume, or a touch of glamour, extensions open up a realm of creative opportunities. Today, let's delve into the world of up-dos and discover five fabulous styles that are made even more enchanting with the use of extensions.
Why Clip in Hair Extensions?
Before we dive into the up-do inspirations, let's explore why extensions are a must-have in your beauty arsenal. Clip in Hair Extensions provide versatility, allowing you to experiment with different lengths, textures, and colours without committing to a permanent change. They are perfect for those who have shorter hair or want to add volume to their natural hair.
Now, let's unravel the magic of extensions through five captivating up-do styles that will leave you feeling empowered and glamorous.
What you will need to create these looks
- Small hair elastic bands
- Bobby pins
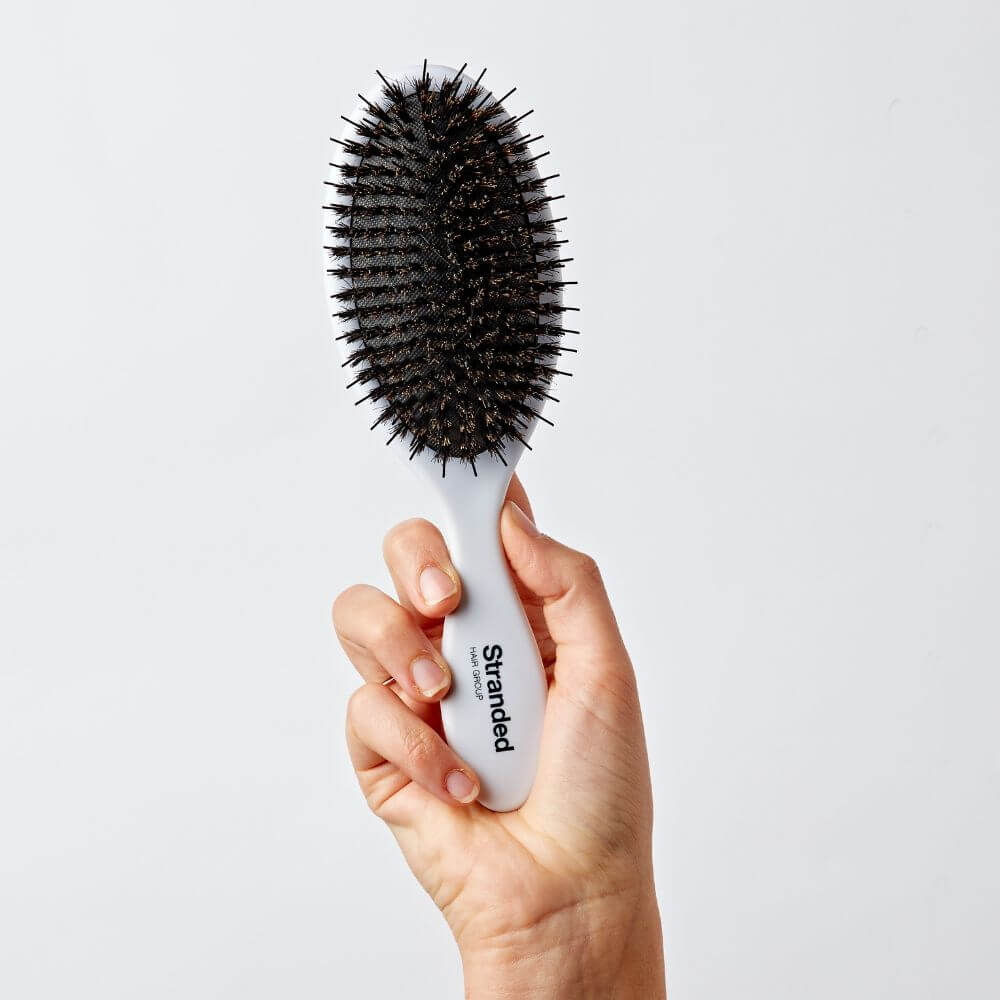
- Brush/comb
Bubble Ponytail
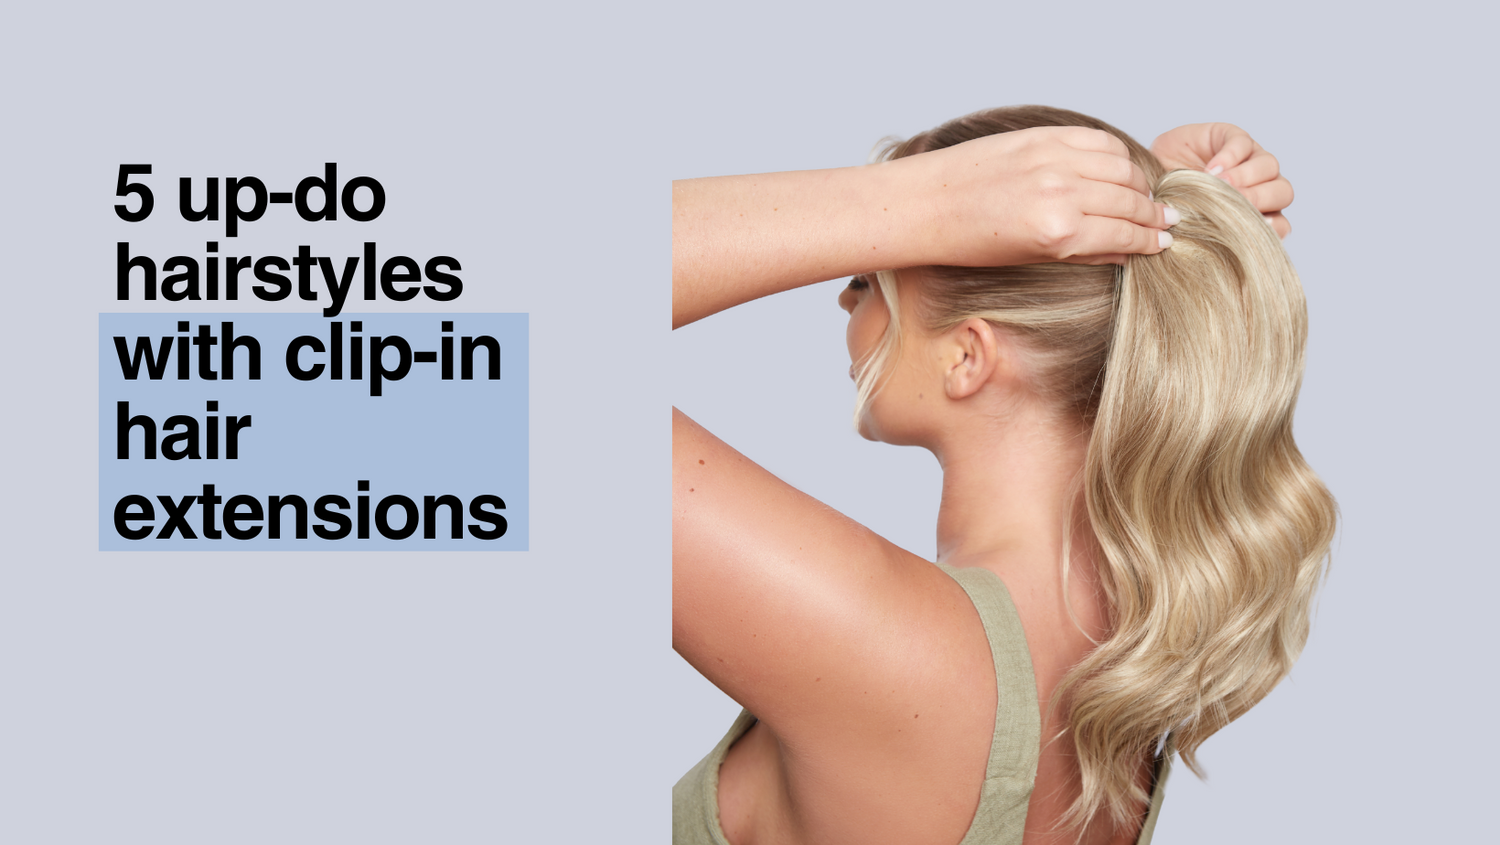
Bubble ponytail. Bubble ponytails are a different way of doing the standard ponytail, you often see this style being worn at festivals or fun occasions for an extra WOW. The best thing about this style? You can create it with any type of extension. Adding extensions to this up do can add length and or thickness to this look.

Photo credit to @viola_pyak
- If you have a ponytail extension piece- simply apply the piece to your hair. Then take your first elastic band and tie it about an inch away from the base of the ponytail. You then want to pull your hair through so it bulges out above the elastic band, creating a ball shape. If you want the bubbles to be bigger take a section the width of three fingers, if you want smaller bubbles take a section the width of two fingers. You need to continue this process all the way down the lengths of hair to create the finished look. How easy!
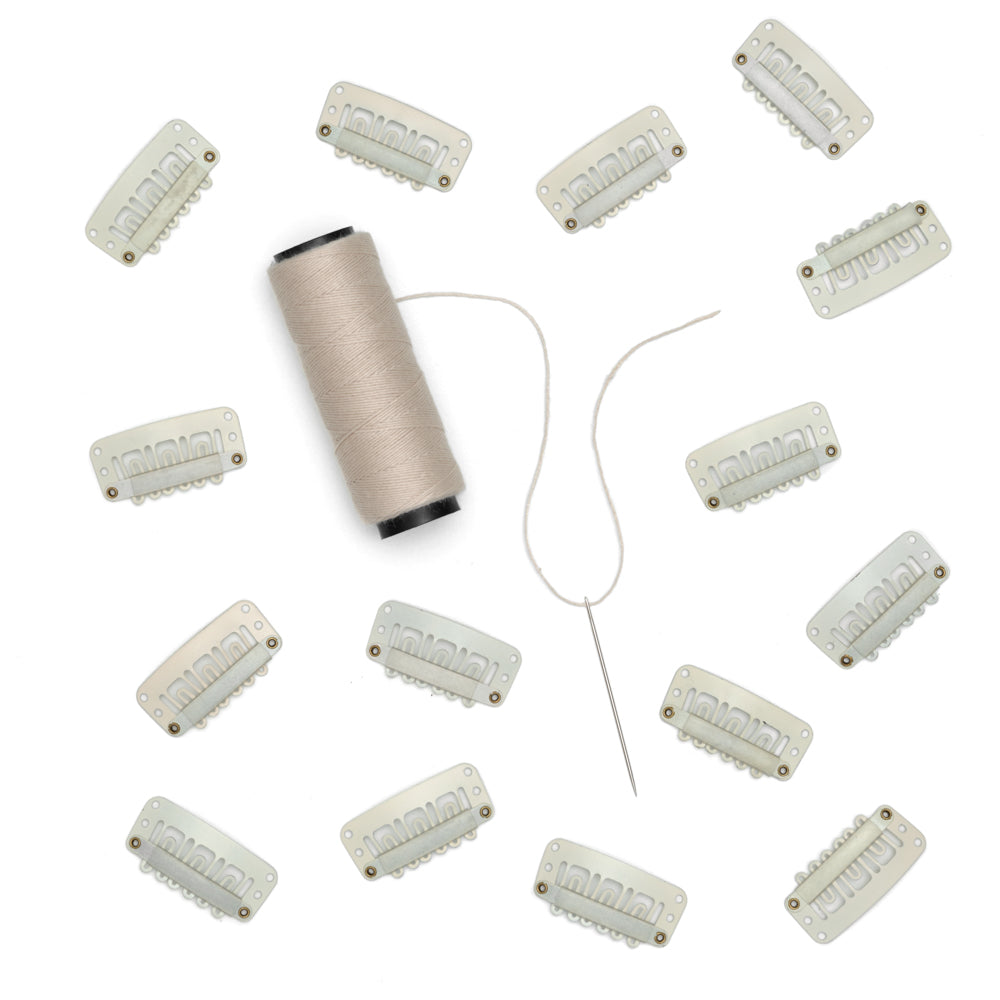
- Now if you do not have a ponytail extension piece do not worry! You can take a 5 clip hair extension piece and still create this look. Firstly you need to section your hair into two. You want this section to be created just below halfway down your head. Tie your front section at the front or on top of your head to keep it out of the way for the time being. Take your clip-in extensions and instead of applying them how you usually would with the hair flowing downwards, you want to turn your extensions upside down. Clip in your clips so that the hair is now positioned so that when you tie your hair up it is flowing with the rest of your hair in an upwards direction. Take the section of hair from the bottom half of your head and go to tie your hair up as normal, this bottom section should cover your extensions so that nothing is on show.
- To create the bubble effect follow the instructions above as you now have the base to start with.
Messy Bun
Messy buns are in and always look effortlessly glamorous. This messy bun requires minimal effort and has maximum impact that will take just take a few minutes to create.
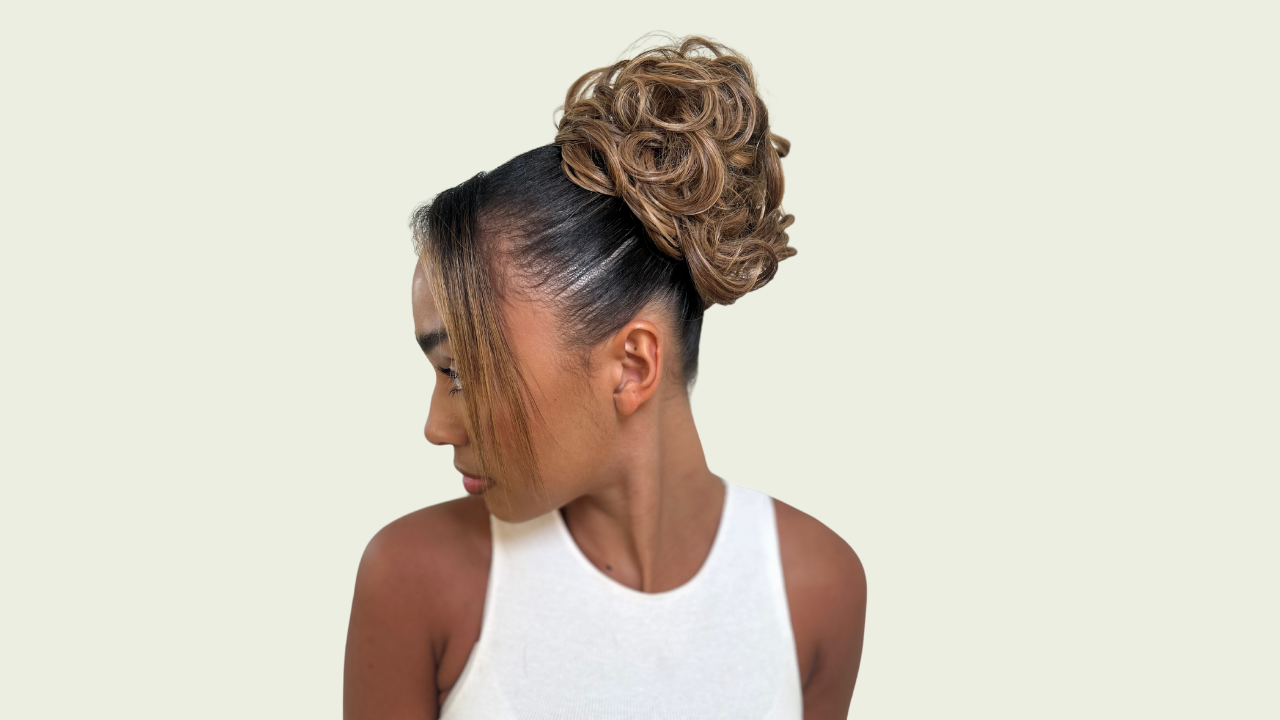
Paris in our Curly Messy Bun in Bronde
- The easiest way to create this messy bun look is by having a bun hair extension piece. This looks like a bobble but the hair is covering the bobble itself.
- To use this piece, gather your hair and create a ponytail to start leaving two strands of hair out at the front, these add to the messy look. You want to smooth out any lumps or bumps so it looks smooth, you want the bun to be the centre of attention.
- Once you have created a pony tail you want to wrap your hair around the base to create a small bun. This will be a solid base for your hair piece to attach to. Once creating the base you will take your bun extensions bobble and tie it around the base bun as if you would tie a bobble around the base of a ponytail. Now your messy bun is in! You can take bobby pins to pin different sections of hair to create different textures in your bun. To finish off the look you can curl the two front sections you left out. These loose curls will soften the look and bring the whole look together. Don't worry about any bits of hair that are loose as this adds to the messy glam look.
Elegant Braid Bun
This elegant low-braid wrap bun can be worn on multiple occasions, you can make it casual or you can dress it up! It’s quick, easy and gorgeous all in one.

Credit to lera.turitsyna
- Start off by clipping your extensions in as normal. Backcomb the section of hair that is going to be covering your extensions and then smooth it over. This will ensure your extensions are hidden.
- Gather your hair and tie a bobble low to create a classic low ponytail
- Now you’ve got a low ponytail split it into two even sections.
- Create two classic braids and secure at the bottom with a small elastic hair band
- Now you have two braids take the braid on the right and wrap it around under the base to the left and secure it with a bobby pin.
- Next take the left braid and wrap it around the base over to the right and around until it is tight and secure with another bobby pin
- You have now created a beautiful hairstyle in just minutes
Luscious fishtail ponytail braid

@hairbyrubymay
- With clip in hair extensions you can create amazing voluptuous braids that give a dramatic effect with little effort needed.
- Firstly you need to section your hair into two. You want this section to be created just below halfway down your head.
- Now apply your extensions upside down so the hair is flowing in an upwards direction. This means the hair underneath will cover your extensions and they will flow in direction with the rest of your hair.
- Tie your hair up into a ponytail smoothing your hair over making sure all extensions are covered.
- To achieve a fishtail braid ponytail, split the ponytail into two. Take a small section of hair from one side and add this piece to the opposite side. Repeat this step on the other side of the braid. Make sure to use small sections in order to maintain the fishtail style. Repeat these steps all the way down until you have run out of length to braid. This braid can be slightly tedious and take some time but the complete look makes it all worth it!
Slick Ponytail
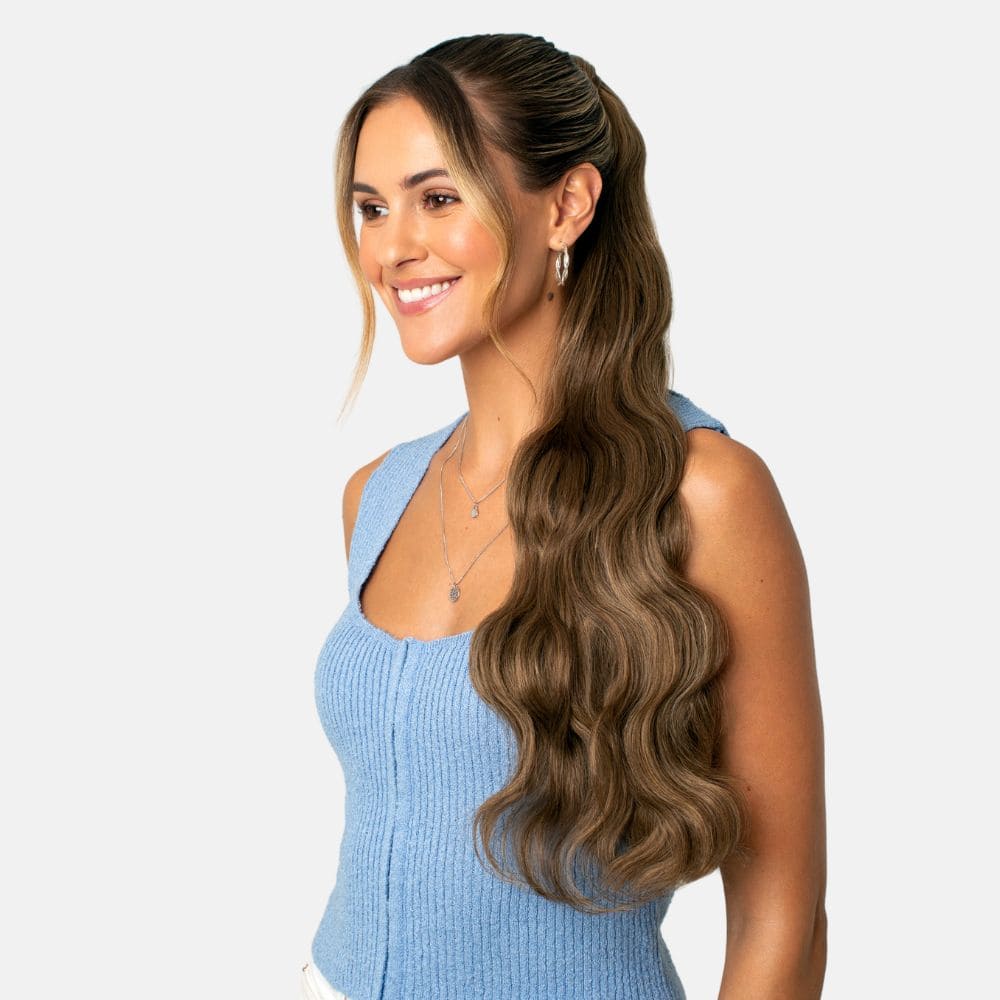
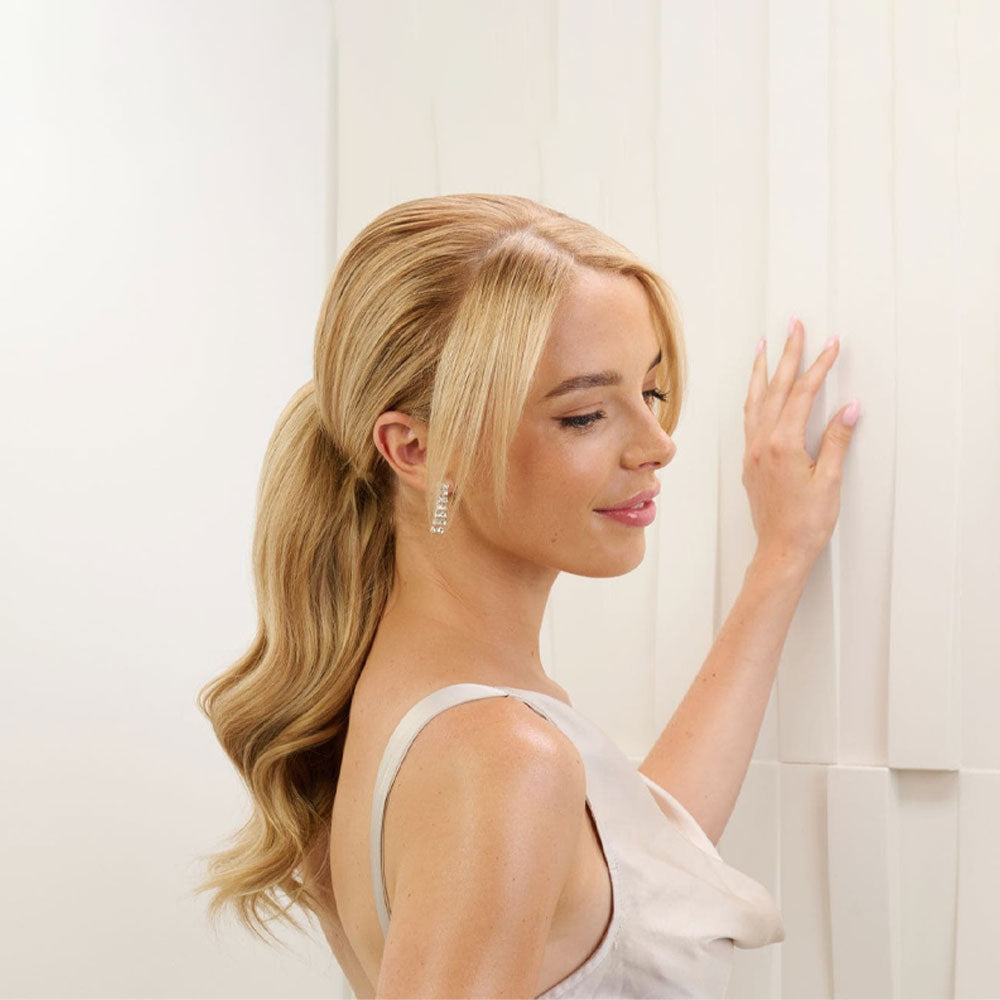
A simple slick back ponytail can look very striking and extreme glam and they are SO simple! The easiest and best way to achieve a voluminous and long ponytail is to opt for a specific ponytail extension piece. These can be applied in seconds and look stunning.

Model wearing our Long Straight Pony
There are two types of ponytail extensions: Drawstring and clip-in. To apply either you need to put your hair in a bun.
Applying a drawstring ponytail
- To apply a drawstring ponytail, loosen the drawstring
- Then place the extension piece over your bun and use the clips or grips to secure it in place.
- Finally, take the drawstring and tighten it all the way. Wrap the elastic around the base of the ponytail and secure it underneath with a grip.
Applying a clip-in ponytail
- Once you have made your bun
- Simply get your clip in ponytail, open the claw clip and cover the bun with the clip. This extensions piece will cover the bun completely.
TOP TIP: Use hairspray or a hair gel to slick back your pony! This elevates the look and really ensures any stray hairs stay in place
Here at Stranded we have a gorgeous clip-in and wrap around if you would like to give this look a go!
Found this helpful?
Why not check out some of our other articles? Or if you're a more visual learner, why not look at some of our handy How-To Videos?

