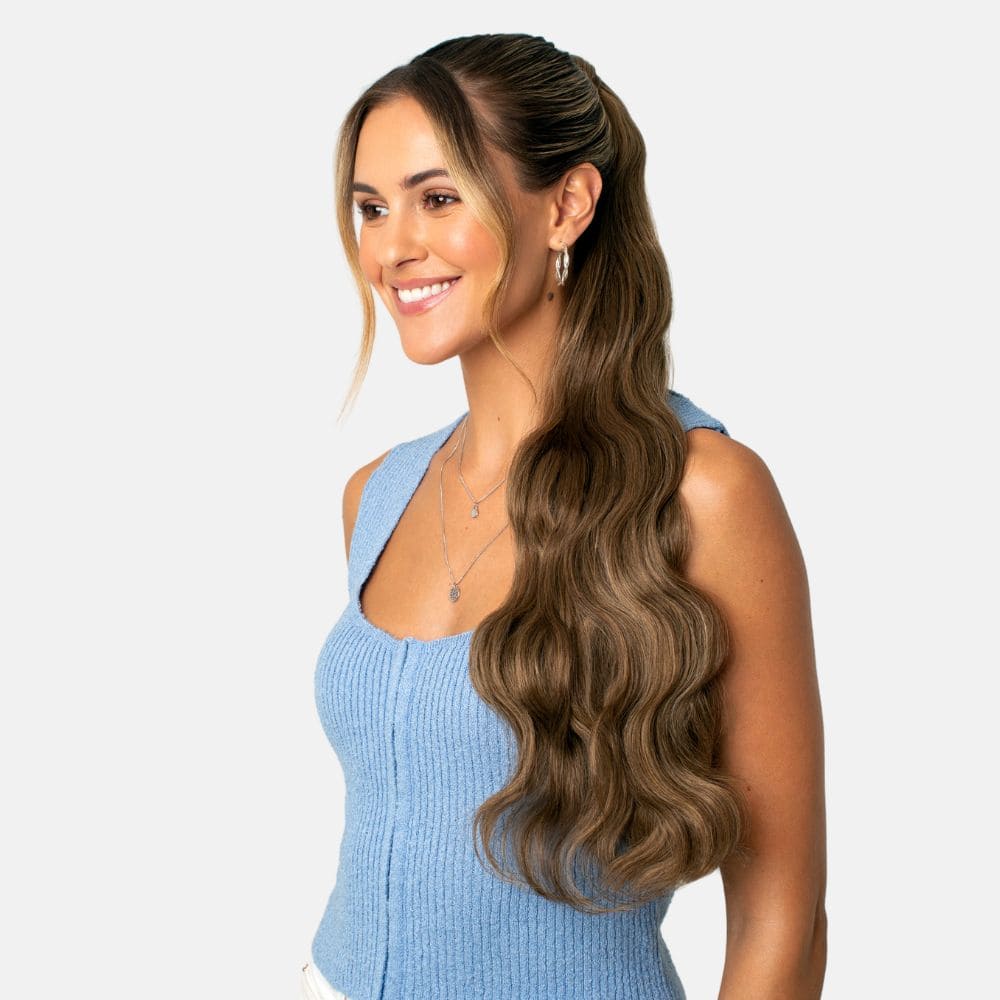
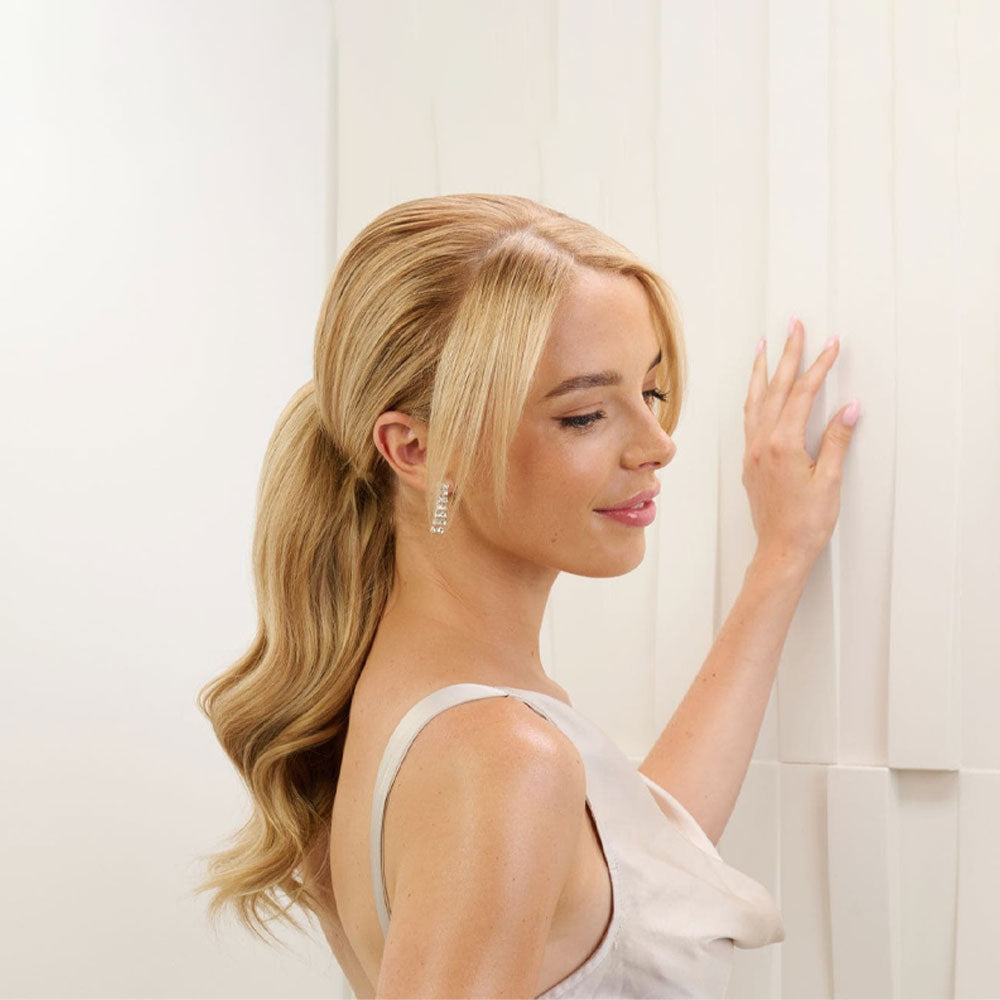
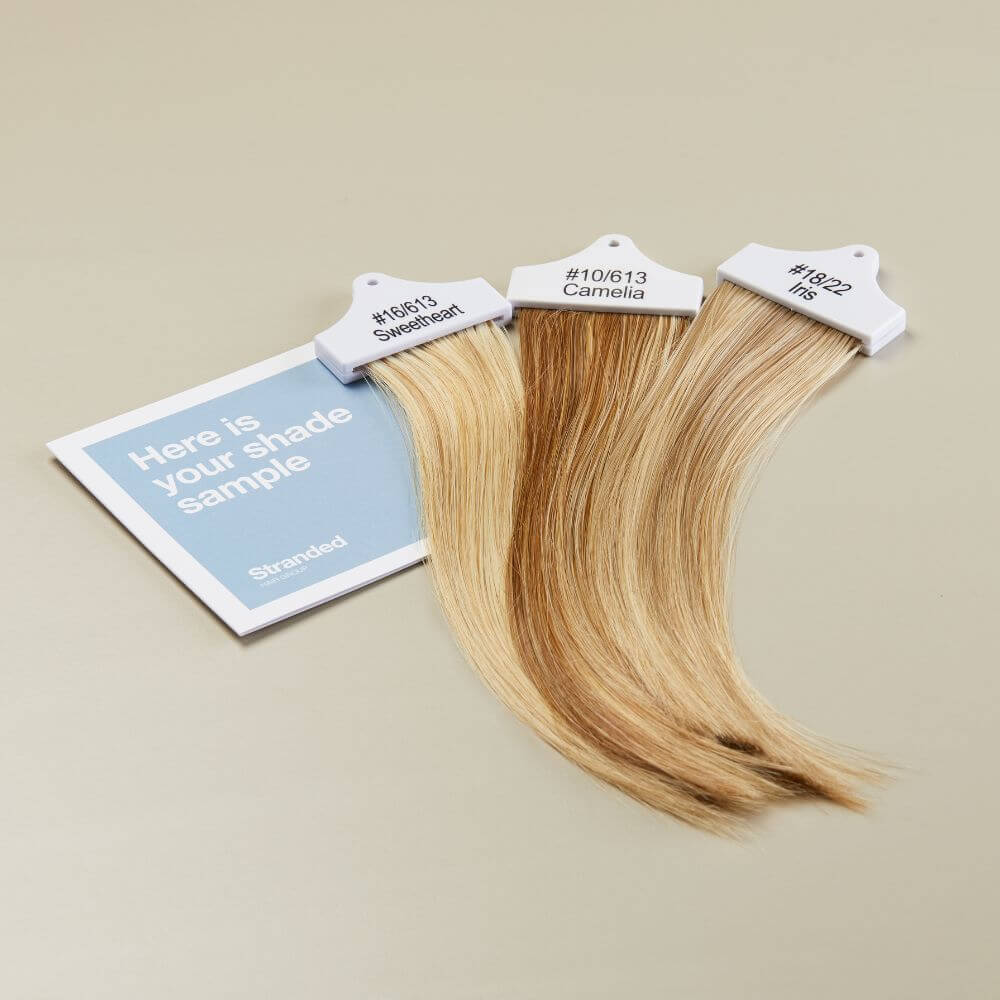
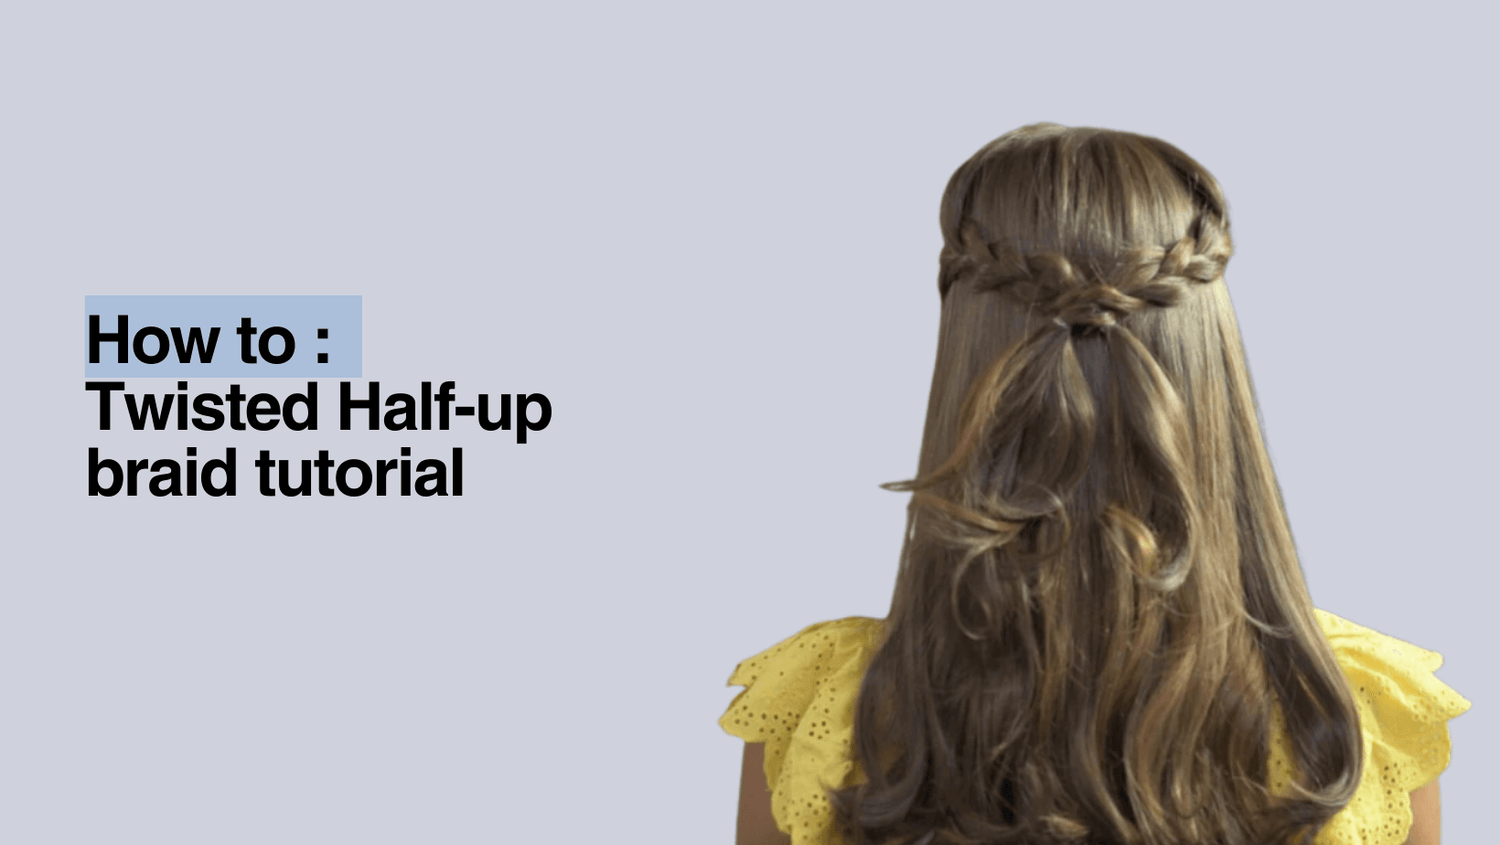
Make every day a good hair day with Stranded tutorials! Follow along on this super easy 5 step tutorial to create the perfect twisted half-up braid hairstyle, all from the comfort of your own home.
Half-up, half-down hairstyles will never go out of style - they’re the perfect look that combines both feeling put together and functionality that keeps your hair out of your face and out of your way.
There are so many ways you can glam up a half-up hairstyle, and this tutorial will show you just one easy way you can do that using twisted braids!
At Stranded Hair Group, we know that a good hair day can make a world of difference when it comes to feeling confident and ready to face the day ahead.
Whether it’s purchasing some Stranded everyday luxury clip-in hair extensions, following one of our easy hairstyle tutorials or reading an educational hair blog, we have all the tools that you need to make every day the best hair day it can be!
Keep reading and follow along with this tutorial for step-by-step instructions to create the perfect half-up twisted braid hairstyle with your favourite Stranded clip-in extensions (or not - no one said you have to use them)!
What do you need to create this look?
Don’t be too eager! Take a quick step back and make sure you have all the correct tools in place to create the perfect half-up twisted braid hairstyle.
To create this look, you will need the following items:
- One Piece clip-in hair extension (our model is wearing our Stranded 20” Synthetic Curly One Piece Clip-in Hair Extensions)*
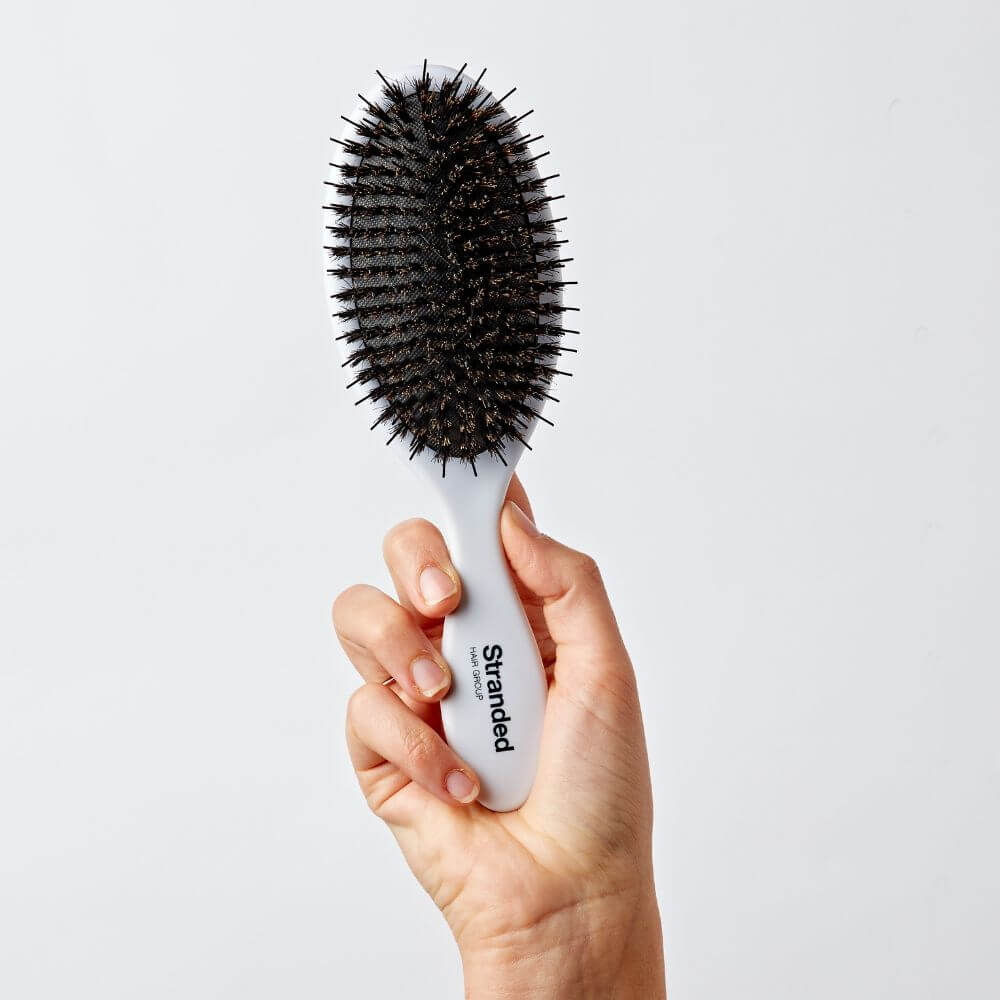
- A soft-bristled hair extension brush (we use the Smooth Finish Extension Brush)*
- A claw clip or hair sectioning clip*
- Rat tail comb
- Two small elastic hair bands (clear or hair-coloured ones)
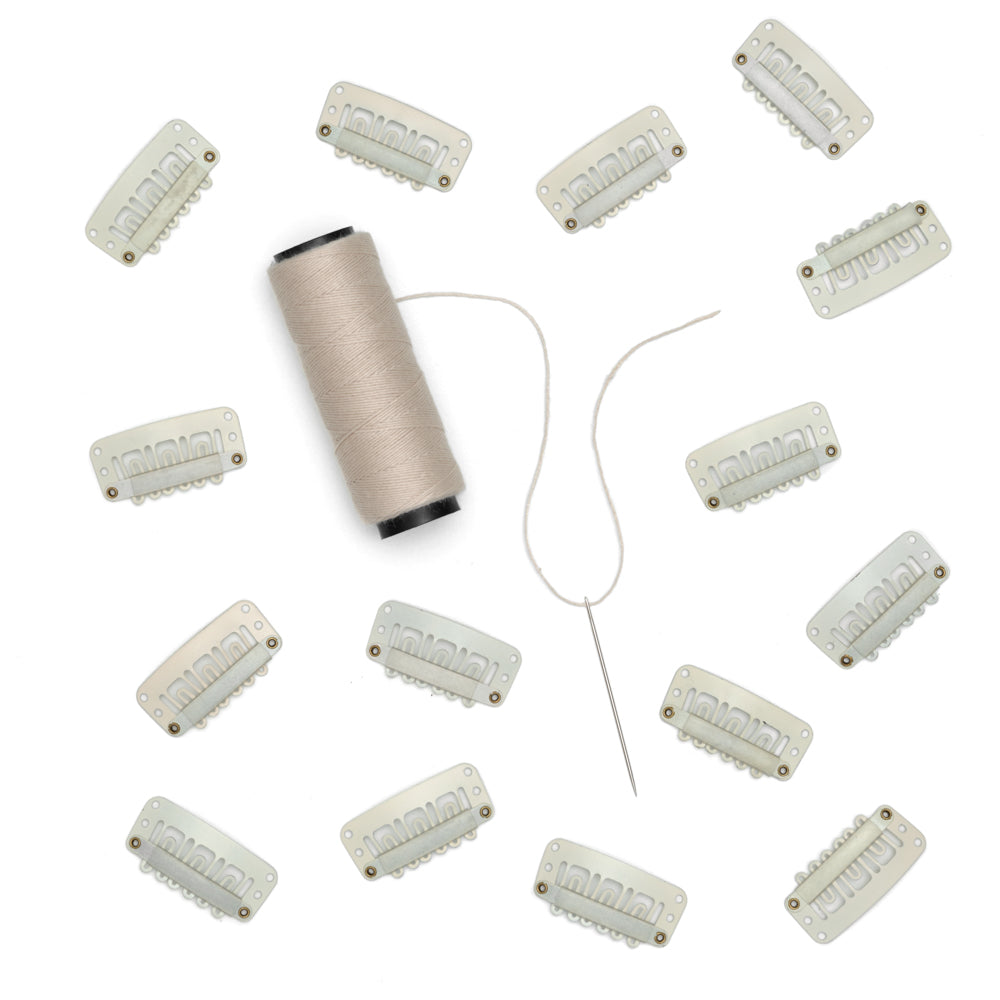
- Multiple mini hair pins (we recommend finding some close to your hair colour)
*You do not need to install any hair extensions to create this hairstyle - we just think it gives the hair extra added volume. If you’re just following this tutorial to create the look on your natural hair, ignore the starred items on this list and skip ahead to Step 3.
Step 1: Attach your extensions
Firstly, you need to install your clip-in hair extensions.
We recommend using a one piece clip-in hair extension, but this style would work with whatever clip-in extensions you have on hand, including multi-piece extensions or human hair extensions.
Using the pointed end of your rat tail comb, section off the top section of your hair, from temple to temple, and clip it out of the way using your claw clip or hair sectioning clip. Install your one piece (or largest track) clip-in extension across the sectioned area (teasing the hair and/or applying a little hairspray to give the extension more texture to grip onto).

Step 2: Blend your extensions
Secondly, you need to let your clipped top section of hair down and blend your natural hair into your extension hair.
To blend your extensions with your natural hair, gently and repetitively brush both together with your extension hair brush (we recommend using the Stranded Smooth Finish Extension Brush). Keep gently brushing all the hair together until it seamlessly blends and you cannot see a difference between the two.
Remember, if you are using pre-styled extensions, you may need to style your natural hair to match. For example, if you’re using a curly one piece clip-in extension, you may also need to curl your natural hair before brushing and blending the two together.
Step 3: Create the braids
Now you’re going to create the two braids on either side of your face.
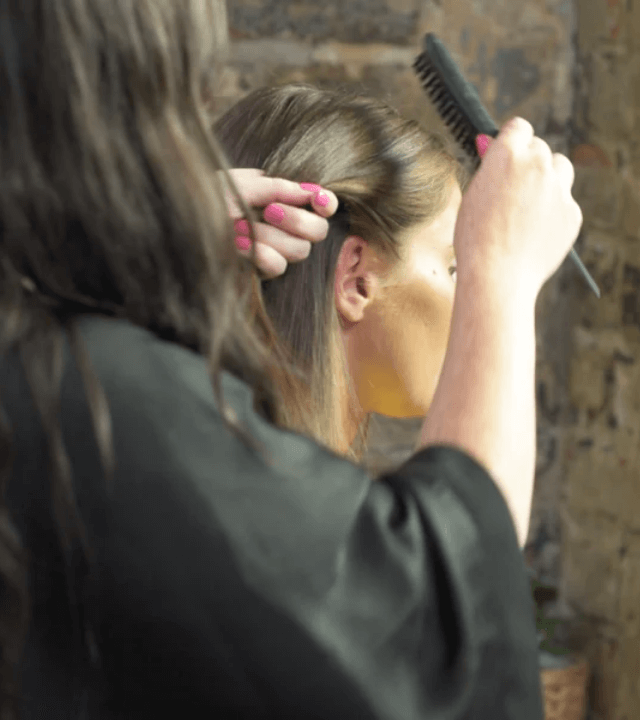
Using the pointed end of your rat tail comb again, take a triangle-shaped sectioned piece of hair from the side of your face, roughly from crown to ear, and braid the hair into a simple 3 strand braid away from the face. Remember to braid the hair backwards, so it falls more naturally in the completed look.
Once you have braided and got to around 2 thirds of the way down your hair, stop and tie the hair tightly with a small hair elastic to secure it. Repeat this on the other side, resulting in two small braids on either side of your face.

Step 4: Add fullness and volume
Then you’re going to need to loosen the braids a little, to make them look fuller and effortlessly relaxed (and even a little messy, if that’s the look you’re going for).
To do this, start at the top of the braid, where it begins at your root, and tug gently at the strands - pulling them slightly out of the braid. Once the strand is slightly pulled out, gently roll the hair around in your fingers to give it volume.
Go over the strands as many times as you need until you reach your desired look. Repeat on the other side until both braids look even.

Step 5: Finish the look
Finally, to finish the style, you need to link and twist both of the braids together.
Take both braids in your hands and hold them around an inch above the hair elastic, where they end. Twist the braids around themselves, following the same direction and then cross them over each other. Use your mini hair pins to secure them together in the centre (mini hair pins will be far easier to disguise).

Get ready to braid!
You now have a lovely, twisted half-up braided hairstyle, that you can easily create at home. This style is quick, convenient and functional for any occasion!

But what now?
At Stranded, we’re committed to the confidence women feel on a good hair day! And that’s a huge reason why we write hairstyle inspiration blogs and create tutorials, just like this one!
Read more hairstyle inspiration blogs and tutorials
Over on the Stranded Blog, we have a wide range of hairstyle inspiration blogs and tutorials ready to give your good hair day a head start!
These are some that we think you’ll love:

