How to make a ponytail with clip-in extensions

How to make a ponytail with clip-in extensions
Hair extensions are best known for adding length to natural hair. However, instead of just length, you can also add faux highlights. Highlights can be pricey to get done professionally and can be a long-term commitment. Using clip-in hair extensions to achieve this look can be a perfect solution for you!
Keep ReadingHave you ever just wanted a thick, long ponytail but your hair just isn’t doing it justice? Well, you can create a long luscious ponytail with your hair extensions! What you’ll need:
-Brush
-2 Wefts of hair extensions with three clips OR just one 3-clip extension
There are a variety of ways to create a ponytail with hair extensions. Here we will give you three different ways you can create a show-stopper pony. You can customise this to however you like! Both synthetic hair and human hair extensions can be used to create this look. You can add more extension pieces to make your pony longer or you can stick to the one extension just to add some thickness! Follow our basic steps to get you started and you can add your creative flair and personal style to what you want.
- Braid away
- One piece extension
- If you are feeling a bit lazy
Braid away:
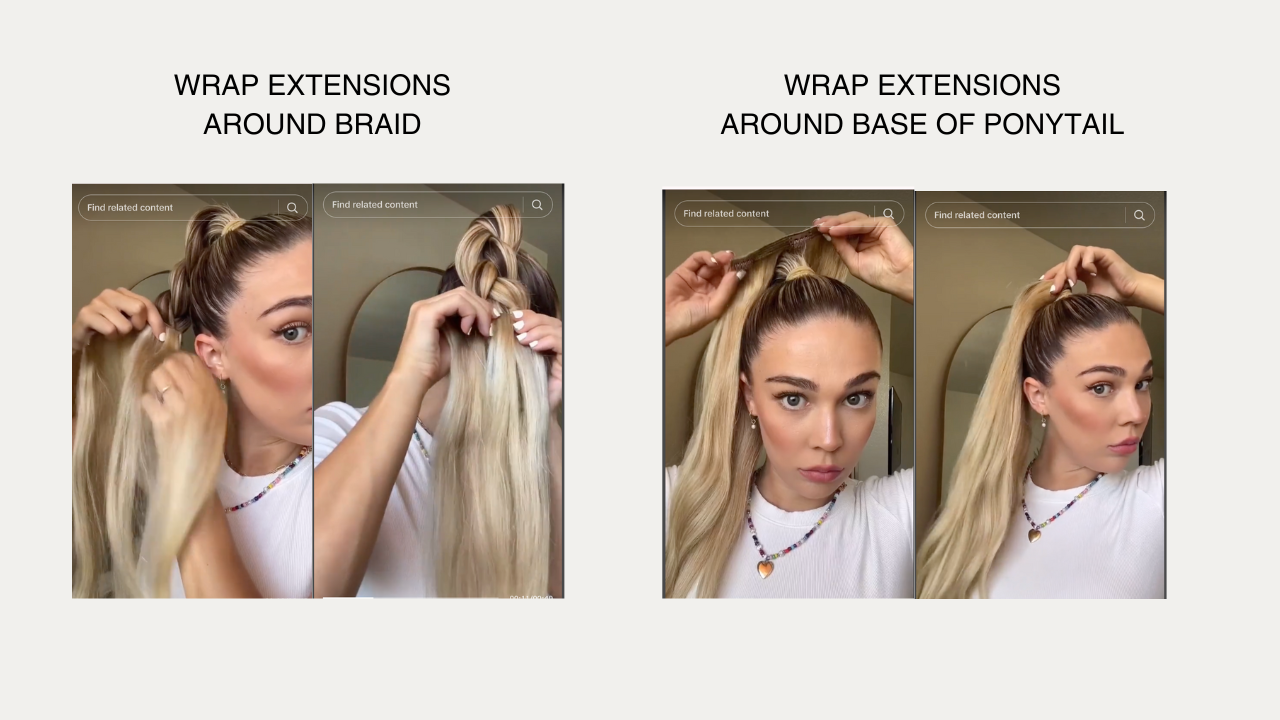
Firstly, you need to gather your hair into a ponytail and tie it and the desired height you want it. You can have a high pony, a mid-rise pony or even a low pony! All three heights will work with this method. Once you have chosen your ponytail height, you now need to braid your ponytail. Just a normal braid will do and remember to secure it with a hair tie. Braiding your ponytail will mean that your hair isn’t as thick and won’t be obvious when you attach the extensions. It also means the clips on your extensions have more texture to grip too.

Credit to Nawimroipi
Now you have your braid, take your first three clip weft. About halfway down your braid clip the first clip onto the braid. Wrap the weft around the braid and continue to clip in the extension. To make it less bulky, when wrapping the extension around the braid wrap it so that each clip is just slightly above the previous one. The extension piece should look like it’s going upwards in a small spiral. The second clip will be a bit higher than the first one and the third clip will attach just above the second clip. You do not want the clips to be attached very far apart from each other as this will cause your extensions to look uneven at the bottom. If you can't quite get this technique down, then you can just wrap your extension piece fully around itself, continuing to attach it to the braid.
Once you have your first section attached, you want to apply your second section. This section is going to cover the base of your ponytail.
One piece extension
To create a ponytail with clip-in hair extensions, you can do it with just one weft. If you're having a bad hair day why not try this method?

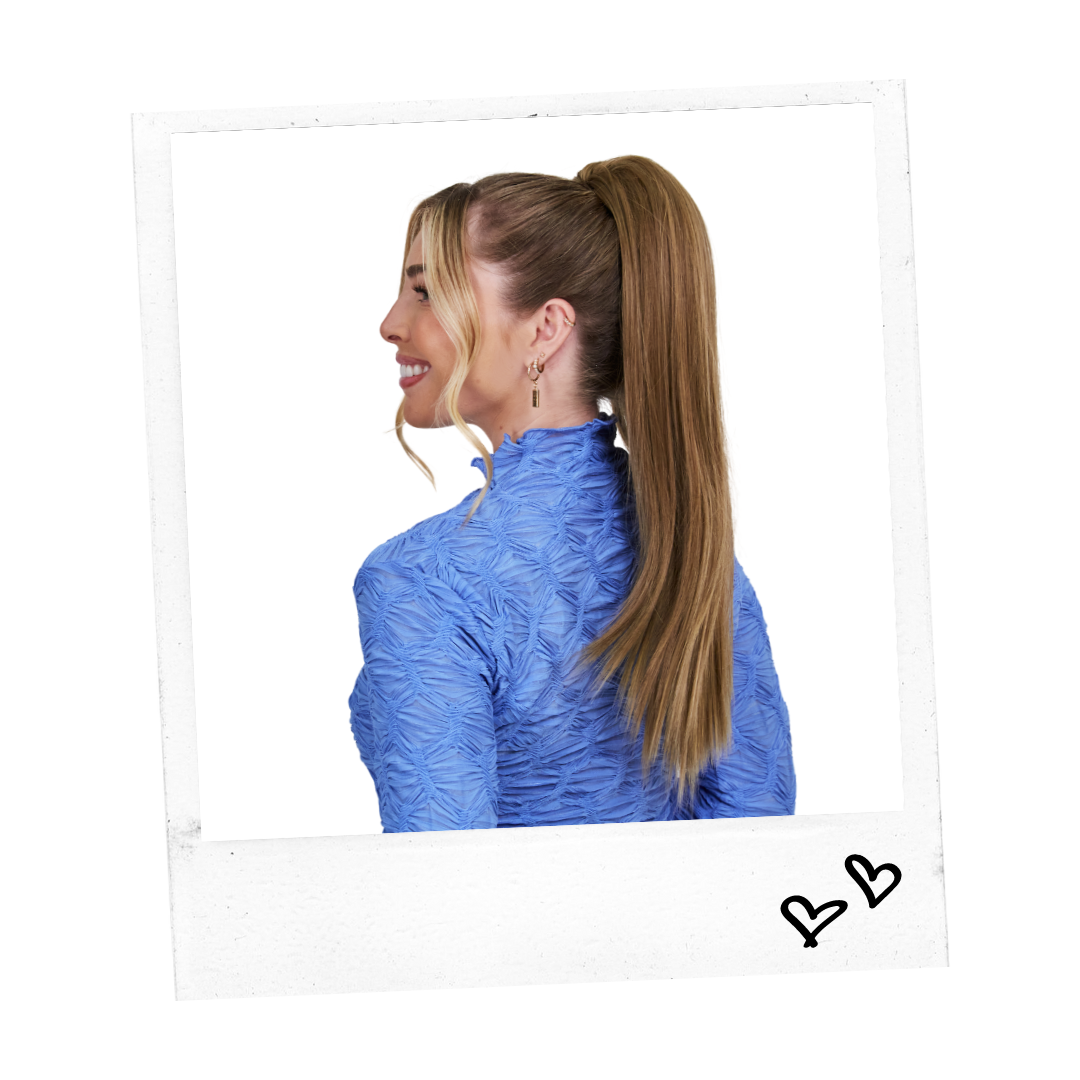
Long wand wave clip-in ponytail
Split your hair in half just below the middle of the head. Here is where you will attach your extensions. Before you attach your extensions, backcomb the top section of hair at the root where you have created the section. This will ensure the clips have sufficient grip.
Now it's time to clip- in! Flip your extensions upside down. So that the hair is flowing upwards with the rest of your hair when it is tied up. Clip in the extension piece. Tie up the extensions and top section of hair loosely. Take your bottom section of hair and backcomb at the root of where you have sectioned. This backcombing will make sure the clips are covered as this section of hair will be covering them. Once you have backcombed you can now tie the hair up into a ponytail.
TOP TIP: You may find it easier to bend forward and tie your ponytail while upside-down. This makes it easier while having the extra hair, you can smooth over the back section. This also helps the ponytail be tight if you want it slicked back.
Now it's time to clip- in! Flip your extensions upside down. So that the hair is flowing upwards with the rest of your hair when it is tied up. Clip in the extension piece. Tie up the extensions and top section of hair loosely. Take your bottom section of hair and backcomb at the root of where you have sectioned. This backcombing will make sure the clips are covered as this section of hair will be covering them. Once you have backcombed you can now tie the hair up into a ponytail.
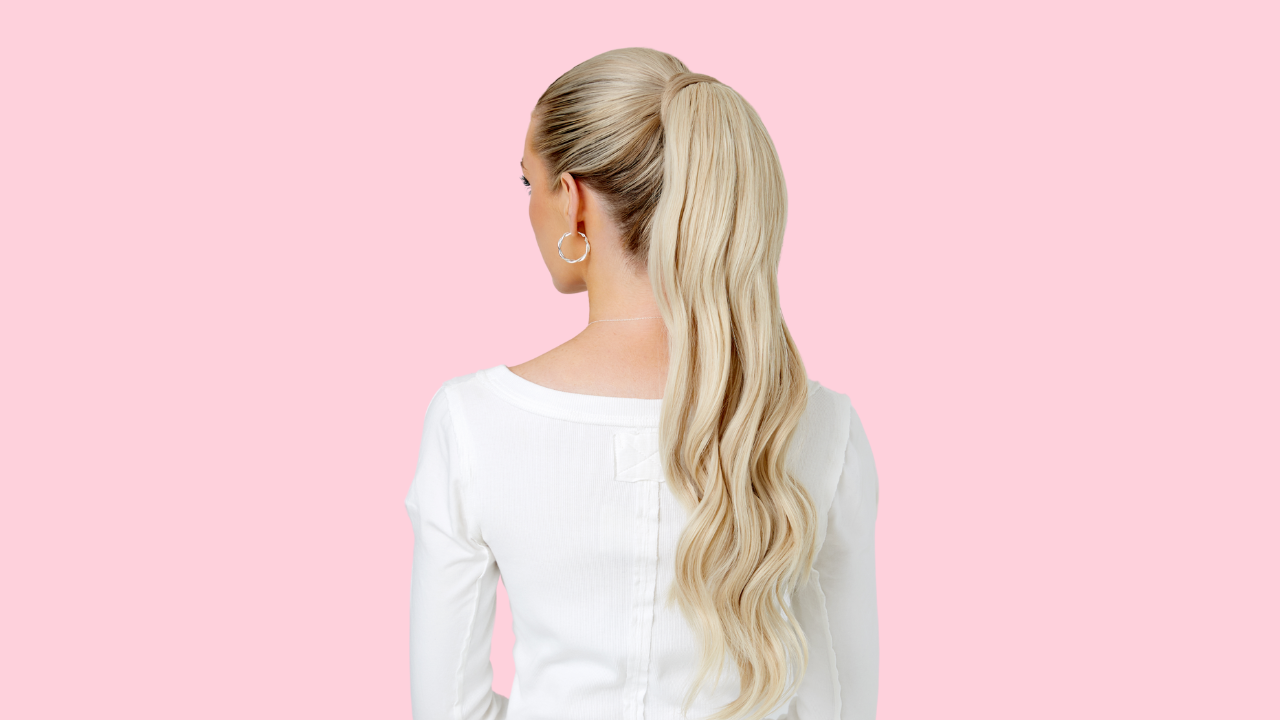
You should now have a ponytail with hair extensions! Finish off your look with a bit of hairspray to tame flyaways or add texturising spray to add extra volume.
If you are feeling a bit lazy:
If you're feeling a bit lazy or simply just don't have the time for either of the two options above. Why not choose our most simple and EASY option to create a picture-perfect ponytail? A clip-on ponytail hair extension. With clip-in ponytail extension pieces you can achieve a sleek ponytail, voluminous ponytail or even a curly ponytail. The options are endless. If you feel like this may be a good option for you, take a look at some of these clip-in ponytail extensions.

Long straight pony and medium wand wave pony
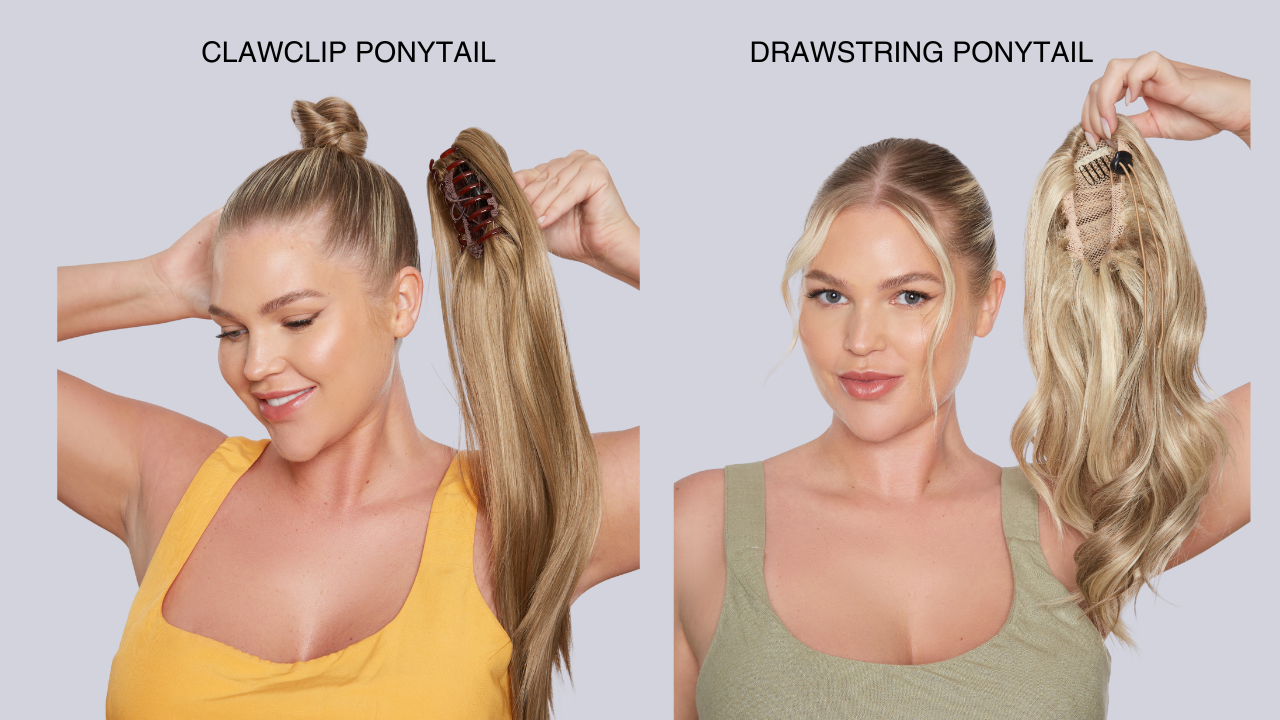
For a clip-in ponytail:
Simply gather your hair into a bun or ponytail. Open the claw clip of the ponytail extension piece and clip it to the base of your natural hair ponytail or bun. Voila, your clip-on ponytail is now attached.
For a drawstring ponytail:
For this, you need to gather your hair into a bun. You then need to release the drawstring on your ponytail attachment. Now this is loose lay the base of your extension piece over your bun and slide the grips in the top and bottom of your bun to grip the extension to your hair. Now tighten the drawstring and wrap the elastic around the base of the ponytail, securing it with a curby grip.
You now have a staple hairstyle that you can create in literally just seconds. Use a special hair extension brush to add shine to your extensions. You will now have smooth, tangle-free hair.
Found this helpful?
Why not check out some of our other articles? Or if you're a more visual learner, why not look at some of our handy How-To Videos?


Leave a comment
This site is protected by hCaptcha and the hCaptcha Privacy Policy and Terms of Service apply.